 مقاومت Through Hole
 رله ها
 موتور و درایور
 نمایشگرها
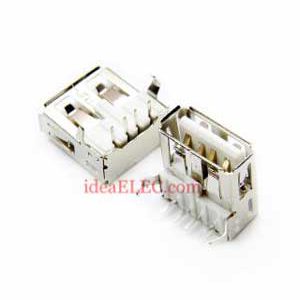
 کابل usb
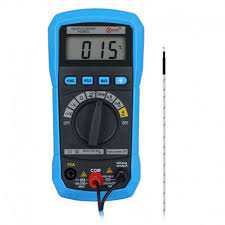
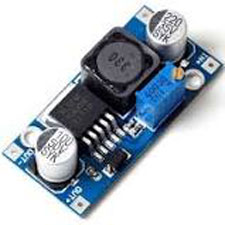


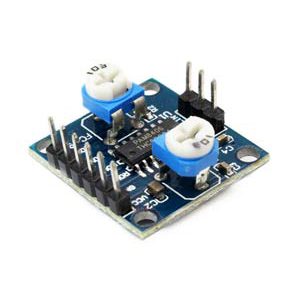
مبدل جریان به ولتاژ جهت کار برد های صنعتی و تجهیزاتی در ارتباط با ترنسدیوسر ها و PLC ها کاربرد دارد.
سیگنال 4 تا 20 میلی آمپر نسبت به سیگنال 0 تا 20 میلی آمپر این ارجعیت را دارد که اگر سیمهای ورودی قطع شود و به جای 4 میلی آمپر صفر شود قابل تشخیص می باشد.
برای تنظیم این ماژول
باید ابتدا جامپر ها را مانند شکل زیر نصب نمایید. هر دو پتانسیومتر را تقریبا 10 دور خلاف عقربه ساعت بچرخانید هنگام رسیدن به انتها یک صدای کوچک تیک به گوش می رسد.

سیگنال ورودی 4 میلی آمپر را به ورودی اعمال نمایید سپس مولتی متر را بین سیگنال خروجی و گراند قرار دهید و پیچ مولتی ترن مربوط به ZERO را در جهت عقربه ساعت بچرخانید. تا سیگنال خروجی صفر ولت شود.
سیگنال 20 میلی آمپر را به ورودی اعمال کنید و مولتی ترن SPAN را در جهت عقربه ساعت می چرخانید تا بیشترین ولتاژ مد نظر که طبق جامپر ها ست کرده اید در خروجی قرار گیرد. .
DROK current to voltage converter module will be powered by 7-36V, current input range is 4-20mA/0-20mA, voltage output range is 0-3.3V/0-5V/0-10V.
Service regulations:
1. Power supply: 7-36V (if the output needs to be 10V, the input must be over 12V)
2. After power on, the D2 indicator should be on. Otherwise, please check the wiring.
3. The product has reverse polarity protection.
4. When the current input is at minimum (0mA or 4mA), adjust the Zero potentiometer to make the voltage output to be the minimum value (0.0V or others).
5. When the current input is at maximum (20mA), adjust the Span potentiometer to make the voltage output to be the maximum value (3.3V or 5V or 10V; the output can be as low as 2.5V when the current input is within 4 -20mA).
- 0-2.5V: 1-2 disconnected, 3-4 connected (at least 5.0V supply voltage)
- 0-3.3V: Remove all jumpers (at least 7.0V supply voltage)
- 0-5V: 1-2 connected, 3-4 connected (at least 7V supply voltage)
- 0-10V: 1-2 connected, 3-4 disconnected (at least 12V supply voltage)
- Turn all the potentiometers to the left. You can hear a little click if the leftmost position is reached. Don’t worry you can’t really overturn them.
- Connect your Sensor like the schematic above.
- Measure with a multi-meter the vout Voltage from vout to ground.
- Now turn the Zero multi-meter to a voltage that you’ll later define as zero. You can turn so that you’re reading is
0.00, but then you won’t be able to detect a sensor failure. - I then connected a variable resistor with a multi-meter in ampere mode in series and turned the resistor knob, so that it read exactly 20mA. Turn the SPAN resistor knob to the right until it reads exactly 3.00V.